How to Make a Vintage Scrapbook- Be Creative and Mindful!
Hi and welcome! I am so glad that you have found my website! Today I will be showing you how to make a beautiful vintage scrapbook with coffee-stained paper. You will be making your scrapbook in a concertina style (where the pages fold out into a long chain but can also be turned like a normal notebook). This will make the scrapbook unique and vintage-looking. If you want to know more about what a concertina style book looks like you can watch this useful YouTube video by Impressions Gallery https://www.youtube.com/watch?v=DvpZxAJXERo&t=240s .
Before we start making our vintage sketchbooks, I would like you to take a moment to ground yourself. The world is such a busy place and so many of us are chronically stressed so I like to take a more therapeutic approach to creativity. If that is not really your thing then no worries, simply scroll down to where we start creating!
For the rest of you, I would like to encourage you to get yourself a nice drink or something nice to eat while we make this craft. Back? Amazing! Now I am going to quickly guide you through some breathing, lets take some deep breaths before we get started. We are going to breathe in through the nose and out slowly through the mouth.
I encourage you to ground yourself by taking a few moments to close your eyes and listen to any noises, notice any smells. Observe your thoughts and let them pass by without clinging on to them.
Now that you are back, remember that for this time while you are making this scrapbook you are allowed to be completely present. You do not need to attend to any negative or anxiety-ridden thoughts. Those can wait until later. This is your time to relax! Be creative, be mindful and lets get going with our vintage scrapbooks!
Really try to let go of any perfectionism and allow yourself to roam free with your designs, really notice and enjoy the colours and textures we are working with!

Remember- ‘If it is out of your hands it deserves freedom from your mind’
Ivan Nuru
Now that you are more relaxed (hopefully) Lets start this project!
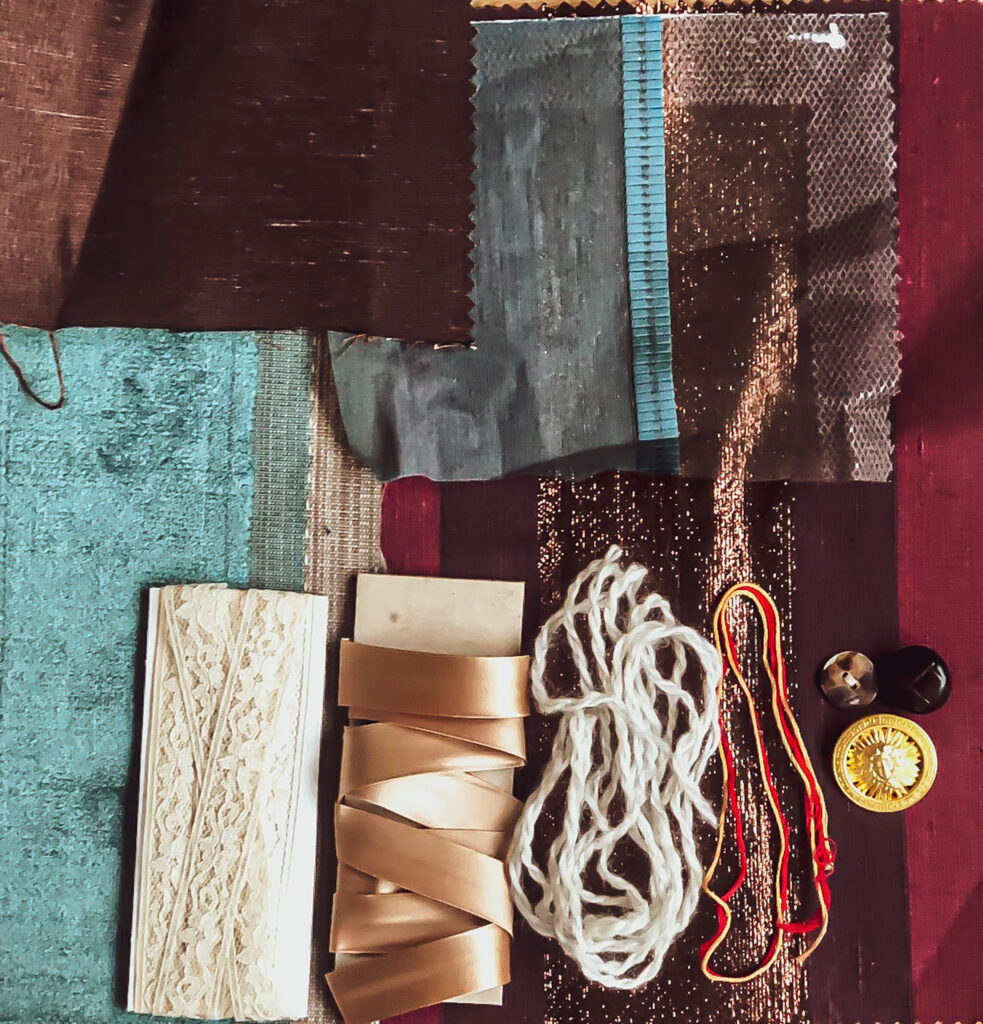
The Supplies you will Need to make your Vintage Scrapbook Include:
- Two pieces of cardboard, each 16cm x 12cm
- Two pieces of fabric around 20cm x 16cm each
- Fabric scraps to decorate the front cover
- Embroidery thread and needle
- Some lace trimming
- Some satin ribbon bias binding (can substitute with normal ribbon)
- Some beads
- Instant coffee granules ( for our coffee-stained paper, you can use tea instead)
- Thin card or good-quality paper
- A few strings of wool
- Hot glue sticks and a hot glue gun
- A sewing machine (not needed but it made the project faster for me)
- A regular glue/Pritt stick
Step One – Making the Pages of your Vinatage Scrapbook
Because the coffee-stained paper that makes up the pages of the vintage scrapbook takes some time to dry we will start with this.
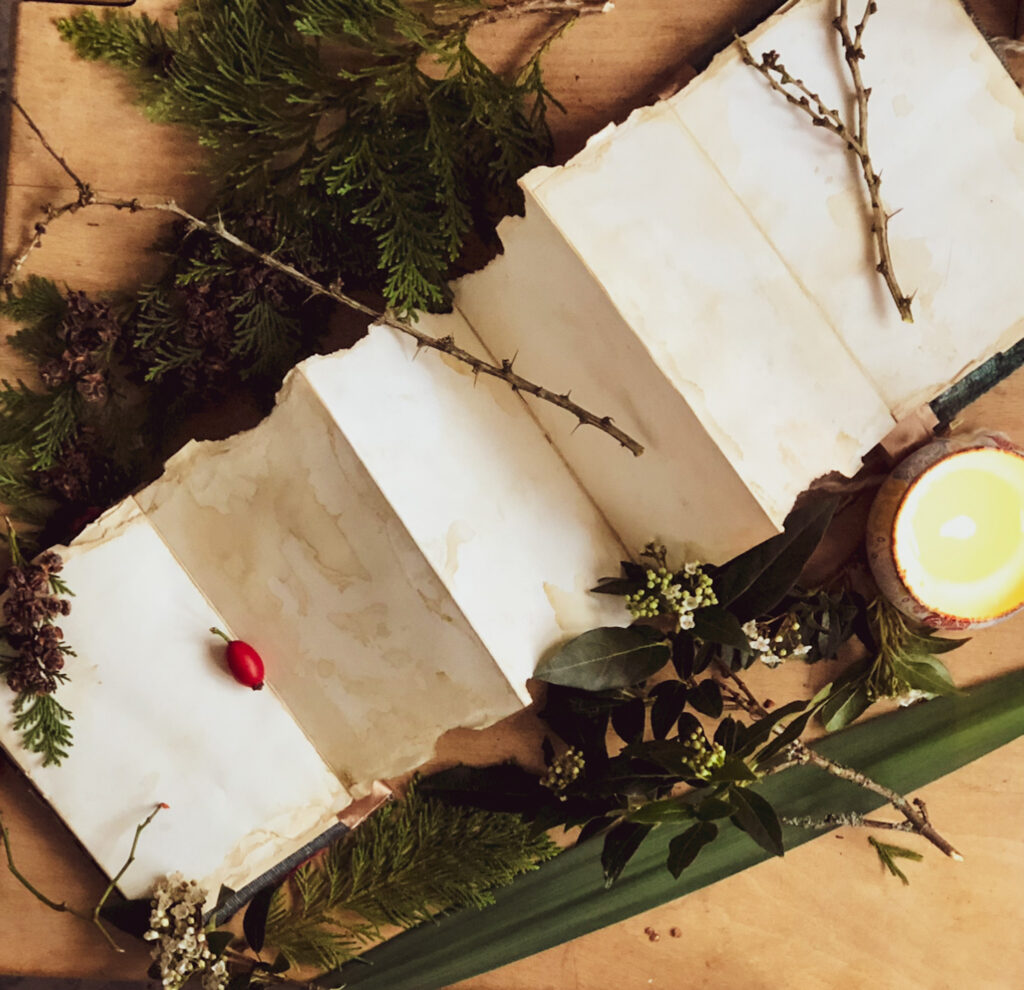
To do this, get some nice quality paper or card that is thin enough to fold), cut it so that it is approximately 14.5x 29.5 cm (although you can adjust this based on how big or small you want you scrapbook to be. Remember to be creative with it!). Once you have cut the paper, fold it vertically (like you would making a fan) so that there are three sections. Repeat this process 9 more times so that you have 10 folded papers.
If you want a more in-depth demonstration of how to make the pages you can watch a video on YouTube that explains it. The style of book is called a concertina book. Sarah Homfray Creates explains how to fold and stick the paper very well in her YouTube video https://www.youtube.com/watch?v=5WRyMCLoOes&t=1587s .
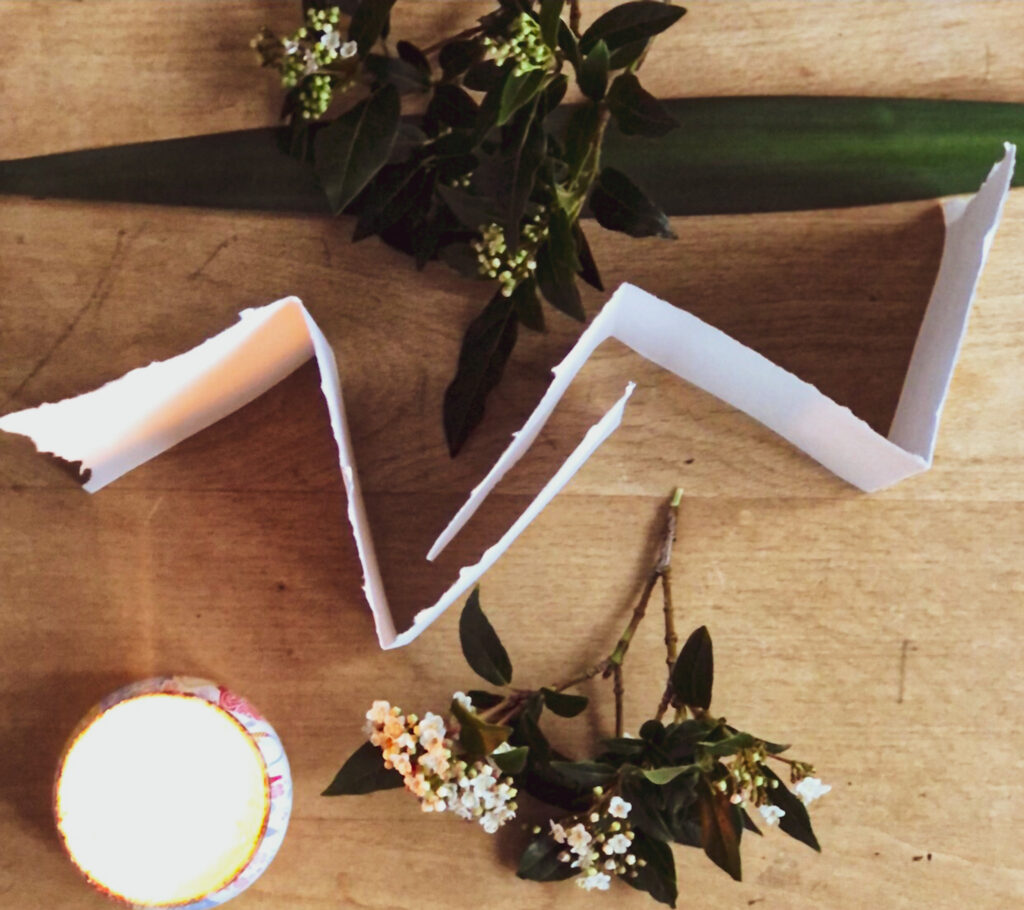
After making the pages, tear the edges of the paper so that there are ragged edges that have a vintage feel (again, it is completely your choice whether or not you choose to do this). Stick the pages together with a glue/Pritt stick as shown below to give you a long chain of paper that folds neatly to the size of one of the sections.
Step Two – Coffee Staining the Pages of your Vinatage Scrapbook
You should now have a long chain of small pages that fold neatly behind each other. Now we will stain the paper to give it an aged, rustic look! This will make the pages of your vintage scrapbook look antique and interesting! I used coffee to do this, but you could use tea or leave the pages plain. To dye the paper, put a teabag or some coffee granules into a small cup of water and stir. Remember that the more coffee you use and the less water you use the darker the dye will be!
Use a paintbrush (or you can use your fingers) to paint the paper with coffee-stain on both sides, pulling out the chain of paper as you go along. Remember that the more coffee you use, the darker the paper will be. Be careful not to make your paper too wet, if it is too wet it can rip. You can be creative with the coffee-stain and the amount that you use on different pages. If you want to create a speckled look, use your fingers to flick coffee-stain onto your paper.
Once you have finished this, you should cut two pieces of card that are the same size as your two pieces of cardboard and stain these with coffee. These pieces of card will be stuck to the inside of your front and back cover.
Step Three – Designing and Assembling the Front Cover of your Vintage Scrapbook
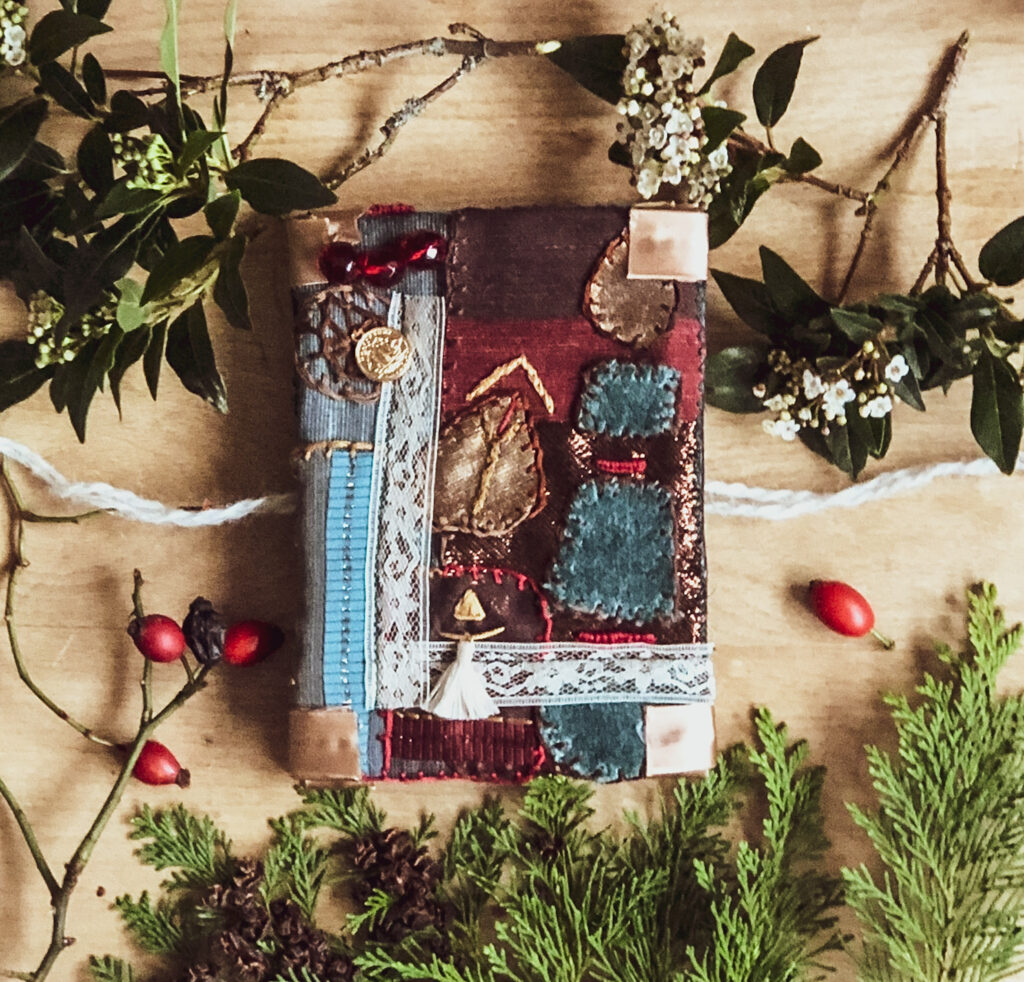
Well done for surviving messy Step Two! Now you are ready to get creative with designing the front cover of your vintage scrapbook! Take your two pieces of fabric and draw a border of around two cm around all edges. This border will be folded around the cardboard, so you want to make sure not to use this border in your design.
Once you have done that start designing the front cover of your vintage scrapbook. You can cut out different shapes from your fabric scraps and use any ribbon or lace in your designs. You can include any materials that you find- buttons, tassels, wool, twine, beads- you name it!
Design your front cover and take a picture of the design on your phone before you put it all together (it is the worst thing when you come up with the best design and then forget it!). Remember to keep the design within the borders of the fabric that you drew earlier.
Once you have done this you can start putting the cover together. You can stick fabrics together with hot glue or sew them together by hand or by machine. Remember to fold the edges of your fabric underneath so that they are not visible (if they are prone to fraying). I used embroidery thread to sew fabric shapes to my cover using blanket stitch (this will also limit fraying of your fabric). If you do not know how to do this stitch, Cutesy Crafts on YouTube have a good video explaining it https://www.youtube.com/watch?v=HWiRU7WoQ6c. There are also over videos on YouTube that explain how you can do other stitches, Let’s Explain have a good video demonstrating how different simple (but beautiful!) embroidery stitches are done https://www.youtube.com/watch?v=OWv6Ypzn9dg&t=410s. You can use embroidery thread to embellish your cover if you want to.
Once you are finished with your front cover, you can repeat these steps on your second piece of fabric to design the back-cover of your vintage scrapbook. You could also keep your second piece of fabric blank for a more simple look. I kept my back-cover blank.
Step Four – Making the Woollen Ties of your Vintage Scrapbook
Now that your cover is together, you can start putting the scrapbook together (if your coffee-stained paper is dry). Begin by poking two holes in the centre of one of the pieces of cardboard. You can do this with a pencil. Take two long pieces of wool and tie them together at the end (remember to make them long enough for you to be able to add photos and stick things into your scrapbook, still being able to tie the strings together!). Once you have done this, feed the wool through the two holes in the cardboard. These are what will be used to keep your scrapbook shut.
Use a hot glue gun to glue your back cover piece of fabric to the piece of cardboard with the two holes. Make sure your wool is equal in length, coming out of each side and make sure it is straight.
Glue the fabric collage you made for your front cover to your second piece of cardboard. When you have done this, wrap the edges of the fabric around the cardboard like you would wrap a present and glue down with hot glue.
Repeat this step, doing the same for the back cover of your vintage scrapbook (your two wool ties will also get stuck down while you fold in the edges).

Step Five – Assembling your Scrapbook
If you have made it this far, I am very impressed! We are nearly at the end of the project. Take the two coffee-stained pieces of card you cut earlier and use hot glue to stick them to the inside of each cardboard cover. When you have done that, take your long chain of folded, coffee-stained paper and glue the two ends (you can use a regular glue stick for this) to the inside of a cardboard cover. You should be able to tie your scrapbook together neatly using the two wool ties to make a bow.
Step Six (this step is optional) – Additional Decorations
The very last step is to add ribbon around the corners of your two covers. To do this, cut a piece of ribbon and use a hot glue gun to glue the ribbon around the cardboard vertically. Make sure that the edges of the ribbon are folded-in to prevent fraying. Once you have done that, take another piece of ribbon but glue it around the cardboard horizontally so that the two pieces of ribbon overlap. Repeat this step for all eight corners of your vintage scrapbook.
Well done for getting to the end of the project!! You have now made a beautiful vintage scrapbook! I am so glad to have shared something with you. I hope that you feel proud of yourself for setting this time aside to do something creative. This project certainly got me out of my head and into the present moment. The colours of the different materials, the smell of the coffee, the texture of the stained paper! I hope you feel calm and relaxed.
Before getting back to our busy lives lets take a moment to transition. Take a few deep breaths. Remember, in through your nose and out slowly through your mouth. You are becoming a pro at this!

I am glad I had the privilege to help you today. Remember, you can visit Serenely Creative whenever you need a moment of calm. Find out more about Serenely Creative here https://serenelycreative.com/about-2/.
Loads of love,
Serenely Creative
